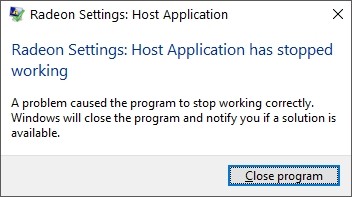
See an error “Radeon Settings: Host Application Has Stopped Working” error on your computer? This is a very common issue for the AMD graphics users. But this issue can usually be fixed by the solutions below. Just take a look!
Reinstall your AMD graphics driver
Perhaps your previously installed AMD driver caused the “Radeon Settings: Host Application Has Stopped Working” error. To fix it, you should try clean uninstalling the driver. You can do this by using Display Driver Uninstaller (DDU, a utility used for clean uninstalling your graphics driver). Download and install this program, then follow its instructions to uninstall your graphics driver.
Once the driver is uninstalled, you should reinstall it. You can use Device Manager on your Windows system, or go to your hardware manufacturer website to find the correct driver manually. Either way, you should make sure the driver you get is correct and up to date.
Or you can use a driver updater. This is a more convenient option — it only takes a few mouse clicks to update a driver! The driver updater we recommend is DriverMax, because it’s powerful and easy to use, and you can use it to update drivers for free!
To use DriverMax to update your graphics driver:
Step 1: Download DriverMax and install it on your computer.
Step 2: Launch DriverMax, and scan for driver updates.
Step 3: Update your drivers (click the update button next to a driver listed).
That’s it! That’s how you can update a driver with DriverMax.
Note that there are some limitations in the free version of DriverMax. Like you can only update two drivers per day. If you want to get rid of these limits and use its full features, you need to upgrade to its PRO version.
Run System File Checker
Step 1: Press the Win + R keys on your keyboard
Step 2: Type cmd and press the Ctrl + Shift + Enter keys on your keyboard.
Step 3: Enter the line of command below and wait for the process to finish:
- dism.exe /online /cleanup-image /restorehealth
Step 4: Enter the line of command below and wait for the process to finish:
- sfc /scannow
Step 5: Restart your computer and see if this works.
Has any of the solutions above worked for you? Or do you have any other ways to fix this? Tell us by leaving a comment below!