Modifying Registry entries is sometimes a very dangerous behavior — your computer may not be working properly after that. If you need to do that, it is always recommended to create a backup of your Registry in advance.
Here in this post, we’ll show you how to back up your Registry, and how to restore it using the backup you created. Take a look at them below!
How to back up Registry
To back up your Registry:
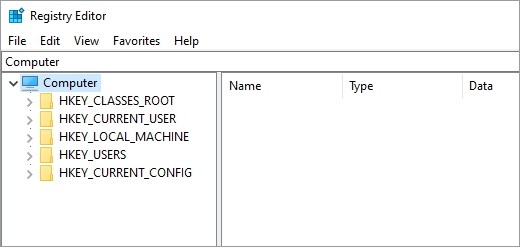
Step 1: Open Registry (press Win and R on your keyboard, and enter “regedit”).

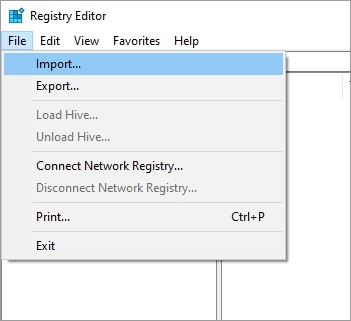
Step 2: Click File and then click Export.

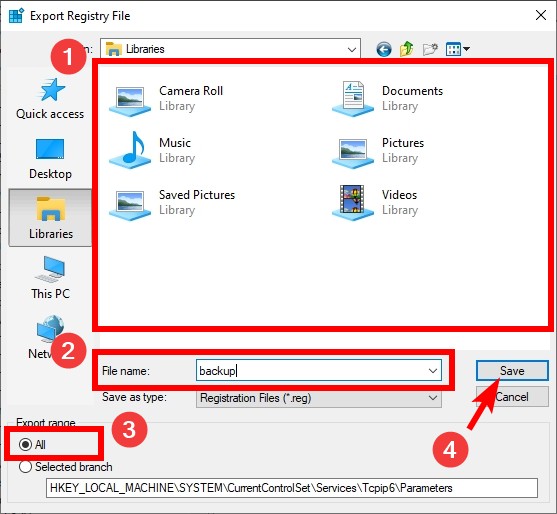
Step 3: Select a location to save the backup, give the backup a name, select All, and then click Save.

This should save a backup copy of your Registry on your computer.
How to restore Registry with a backup
If you have created a Registry backup and you want to restore your Registry from it, here is what you need to do:
Step 1: Open Registry (press Win and R on your keyboard, and enter “regedit”).

Step 2: Click File and then click Import.

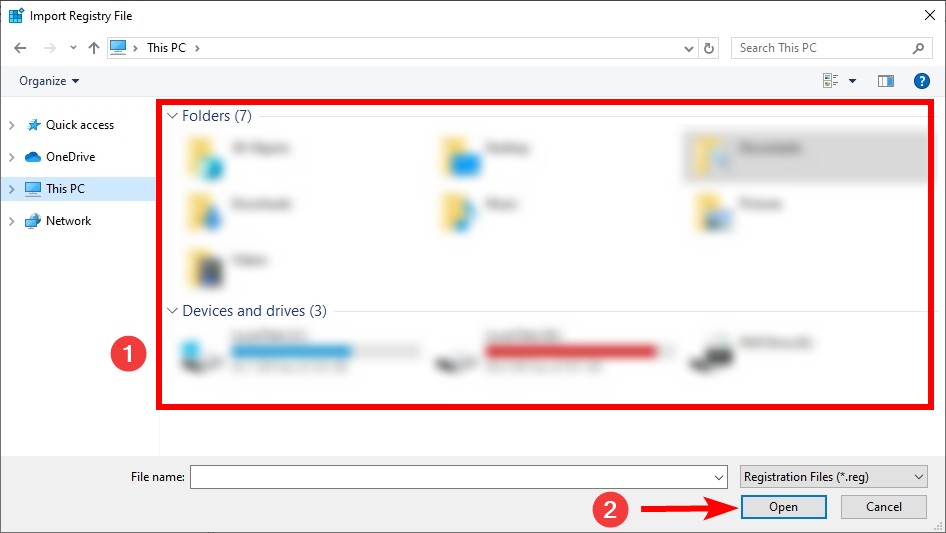
Step 3: Go to where you store the backup, select the backup, then click Open.

These are how you can back up and restore your Registry. Leaving a comment below to let us know if this is helpful for you!


