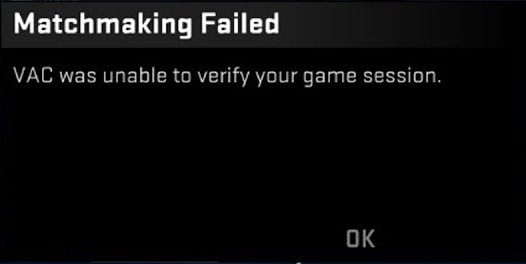
“VAC was unable to verify your game session” is a very common error for gamers, as a lot of them have reported it on multiple forums or communities.
The following are the solutions that have helped many of them fix the error. You may also want to give them a try.
1. Check your antivirus software
In many cases, this error is caused by the interruption of antivirus software. You can try turning off your antivirus temporarily, and see if the error is gone. (Be careful for what you’re doing online when it’s off).
If your antivirus is the cause, ask the software vendor for help, or use a different security program.
2. Verify your game file integrity
To do this:
Step 1: Open Steam.
Step 2: Click LIBRARY.

Step 3: Right click your problem game and select Properties.

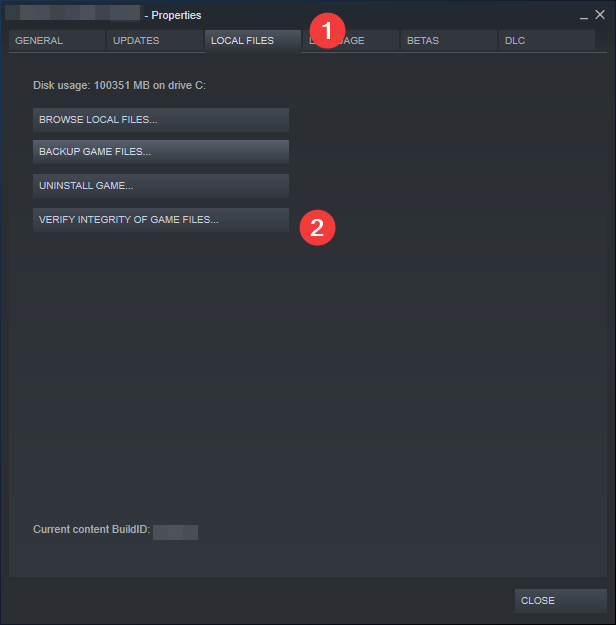
Step 4: Select LOCAL FILES, and then click VERIFY INTEGRITY OF GAME FILES…

This should help you verify your game file integrity and, hopefully, fix your VAC error.
3. Repair your Steam service
To do so:
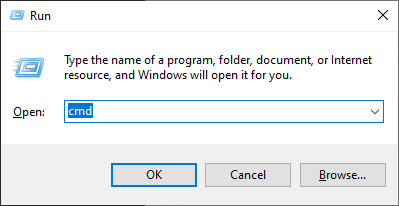
Step 1: Press the Win and R keys on your keyboard at the same time, and type “cmd” without quotes. After that press Ctrl, Shift and Enter on your keyobard at the same time.

Step 2: When prompted, click Yes.
Step 3: Enter the following command:
"C:\Program Files (x86)\Steam\bin\SteamService.exe" /repair
We assume your Steam program is installed in the path “C:\Program Files (x86)\Steam”. If not, then you should replace it with the correct path.
Now test your game again and see if the error is gone.
4. Reinstall your game and Steam
If none of the methods above helped you fixed your “VAC was unable to verify your game session” error, you may need to reinstall your game and even your Steam program. This is also an effective fix and has helped a lot of people. Remeber to back up your games before you reinstall Steam, or you’ll need to download all of them again.
Has any of the fixes above helped you? Let us know by leaving a comment below!


